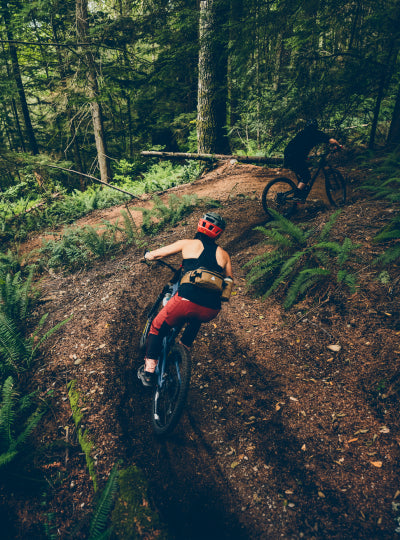
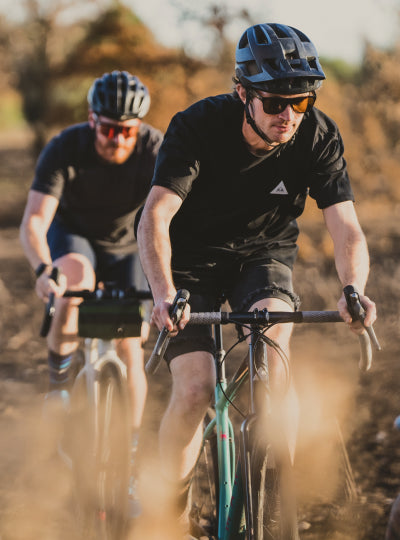
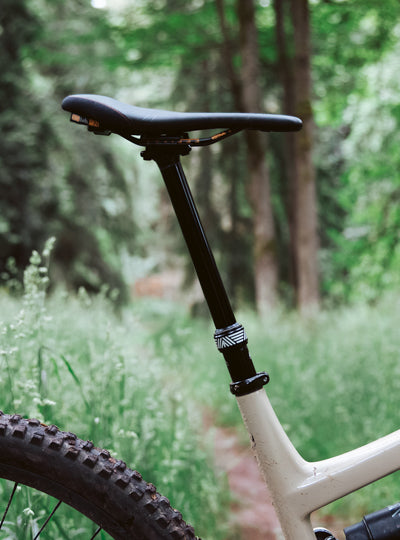

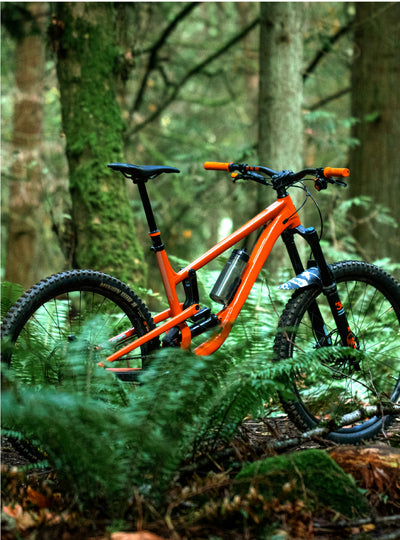
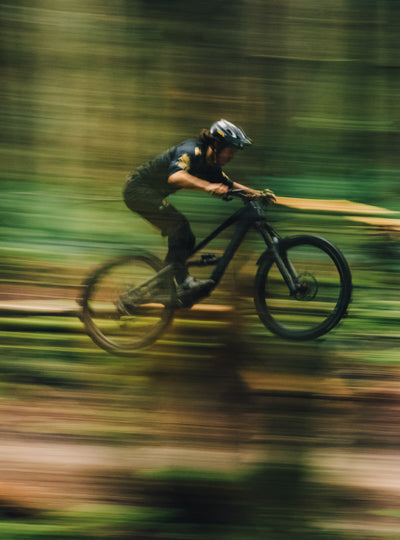


If you’re like us, perfecting your cockpit set up is a constant battle. Paying attention to the nuances of lever placement can be the difference between regular wrist fatigue and being comfortable on long rides. Small changes can not only improve your comfort, but also your bike handling through increased power and control. With this in mind, we’ve asked four of our PNW Squad members, Mark Matthews, Laura Slavin, Porsha Murdock, and Kyle Warner, to tell us their ideal lever placement and to explain the reasoning behind their decisions.
When setting up your bike's cockpit, what are you looking for or trying to accomplish?
Mark: Wrist angle and hand placement. I tend to run my dropper lever pretty far away from the grips and keep the brake levers slammed pretty low. I don’t think my preference is the most popular since I like to give my cockpit more of a bmx/slopestyle feel.
Laura: Wrist angle, lever angles, and preventing arm/hand fatigue.
Porsha: Wrist angle and lever angles. I typically run my brake levers higher (for steeper descents) and that can sometimes take the dropper lever with it. So fore/aft adjustability is really key.
Kyle: When I set up my cockpit I’m trying to get a nice neutral line from my outstretched braking fingers all the way up my arm and into my shoulders. I don’t like my handlebar or levers rolled too far up or down. I just like my joints to be stacked in a nice, strong line when I am in the attack position.

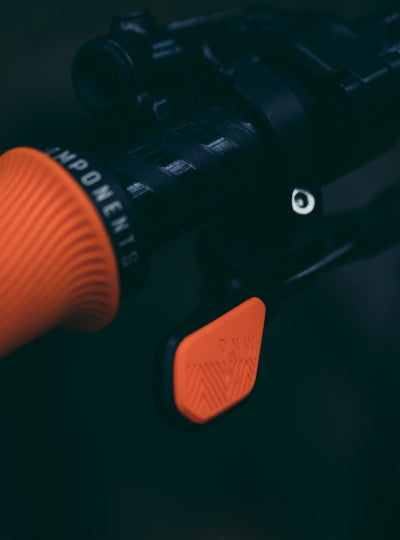
Do you ride with your shifter and/or dropper lever tucked under the handlebar? Why or why not?
Mark: Yes, I like it to be a little less reachable and more out of the way, I'm not trying to push it on the fly and I like being able to wrap my wrist under the bars for certain tricks like tabletops without noticing the lever there.
Laura: I like it tucked in to keep it tidy and out of the way.
Porsha: Not super tucked. I don’t have long thumbs so if it’s too far under then I can’t reach it without moving my hand off the grip and my finger off the brake lever.
Kyle: I run them in a position to where I can comfortably use them without having to make even a small adjustment on my hand position. I like everything right at my thumb level so I can act quickly.
Do you ride with your brake levers fairly parallel to the ground, at a steep angle, or somewhere in between?
Mark: A pretty steep angle to match my body position. I have it slightly angled up more on the bikes I do more downhill riding on.
Laura: I like to adjust my levers in a way that best keeps my wrists in a natural, straight position while I'm riding. I usually carry around a multi-tool during my first few rides on a bike and adjust accordingly as I ride.
Porsha: They are typically somewhere in between but biased more towards the slightly parallel. I will adjust them depending on the terrain though. If I’m not riding steep stuff I’ll lower them a bit to have less of a wrist bend.
Kyle: I run them in line with my arm angle in attack position. This will vary by bike slightly depending on the reach. Usually, it’s closer to a 45-degree angle than straight out.
How far in from the inside of your grips do you place your levers?
Mark: Probably about 1 inch, pretty far away. I like lots of room for moving my hands and wrists around without accidentally hitting anything.
Laura: I adjust this based on where my pointer finger will best connect with the hook of my brake levers. I have small hands, so I tend to run my levers pretty close to my grips.
Porsha: I put the edge of my palm on the end of the grip and decide where the nook of the brake lever will go. It depends on the manufacturer but it’s typically 2 fingers width over from the grip.
Kyle: One pinky’s width, or about 6-7mm, inboard of my lock-on clamps.

Do you have any tips/tricks for other riders to help them find a comfortable cockpit setup?
Mark: So much of it is personal preference, but I would say to keep the brakes angled down a little lower than you would think as it puts less strain on the wrists.
Laura: Carry around a multi-tool for the first couple weeks that you're riding a new bike/setup and stop and adjust your levers as much as necessary. It's easy to feel when you've gotten things just right as you ride.
Porsha: The best thing I’ve found is to carry a multi-tool and jump around in the street outside of my house. I’ll play with the angles and see what feels best/comfortable then take it to the trails and make adjustments from there. After a while, you start to figure out what you like and can adjust even further.
Kyle: I would say have your friend hold your front wheel and then get in a nice, neutral standing attack position. From there try to adjust things until all of your joints line up and “stack” on top of each other. That is going to be your strongest position and will be good for absorbing impacts and bracing yourself for brake forces.
Now It's Your Turn
Inspired? Maybe it’s time to head out to the garage for a few adjustments before your next ride. Make sure to follow the participating Squad members on social to see them getting rad on a daily basis. As always if you have any questions feel free to reach out to our Customer Care team at info@pnwcomponents.com.
Participating athletes can be found on Instagram here: Mark Matthews, Laura Slavin, Porsha Murdock, Kyle Warner